64 Campus Lane
Lyndon Center, VT 05850

PAGES, ROWS & COLUMNS
Intro to Adding & Adjusting New Pages, Rows & Columns
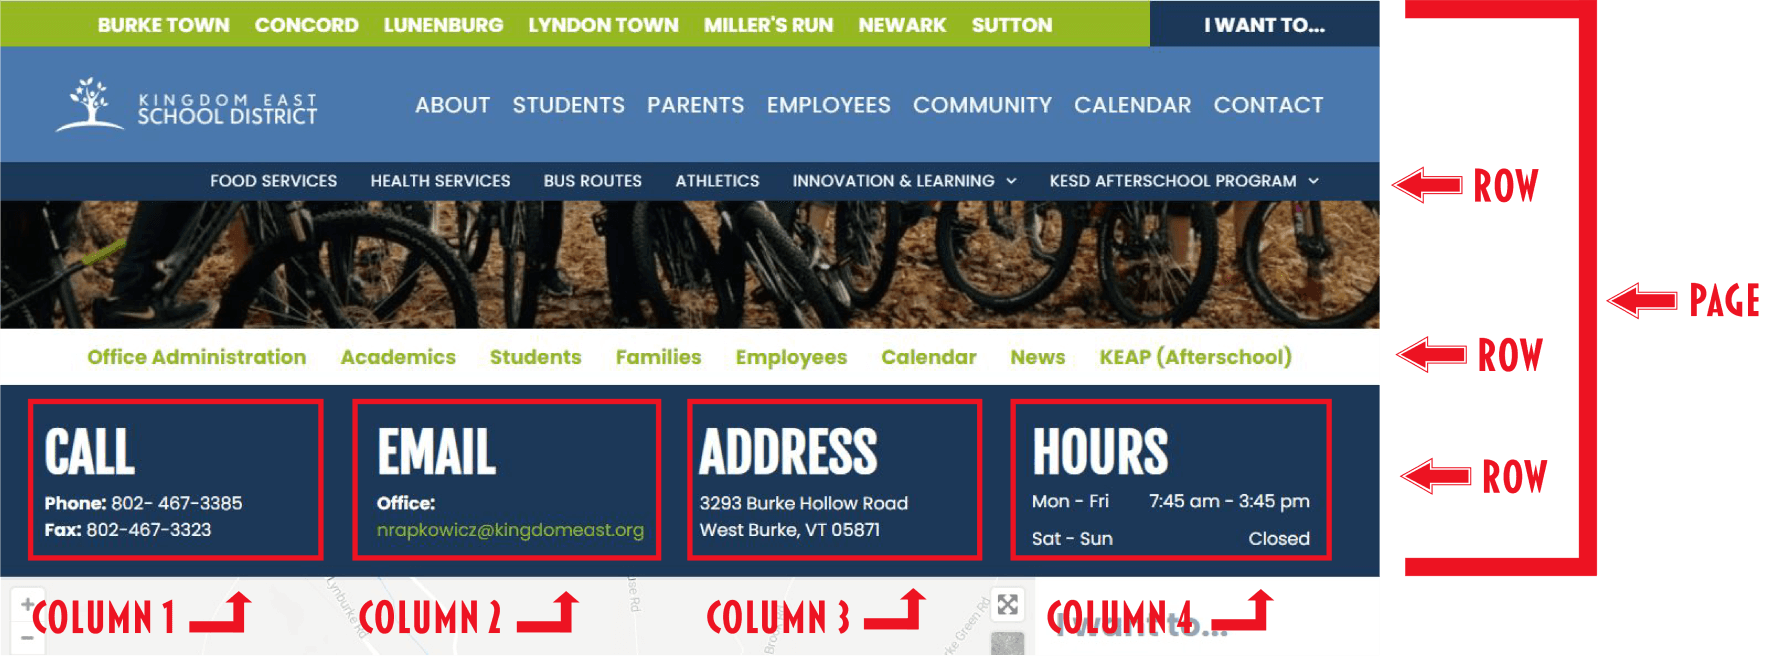
When you look at any website, it is clear to see that the website as a whole is made up of various pages. So simply speaking a website is created by adding different site pages. In order to create pages, this is done by adding in several rows and columns to each page. On this training page we will go over how to add new pages to a site as well as how to add in and adjust rows and columns. Below is an image that visually explains what exactly Page, Rows and Columns are.
Video Resources
Below are two short videos that go over some key information regarding pages, rows, and columns. These videos do not include all of the information included within this resource page, however, will help give you a visual idea of some different editing capabilities you have within the site editor, as well as how pages, rows and columns work within your site.
Intro to Managing & Adding Site Pages
Organizing the pages in your site is important because you want the most relevant information to be the most accessible, but you may have various of subcategories in your site and will need a way to arrange the order and the suborder of your site. Learn more about this topic and how you can hide, add, and delete pages, plus add SEO details to make them easy for users to find.
Intro to Editing a Site Page with Rows & Columns
Your site layout consists of rows that stack on top of each other and columns that are within the rows. This site editing system builds the overall structure of the pages in your site. Within the structure, you can further customize your pages by adding widgets to the layout and edit each widget within the page. Learn more about customizing your pages in the tutorial of the inline editor.
Quick Links:
To jump to a specific section within the page, click the text in one of the boxes below.
The PAGES tab on the left side of your screen allows you to reorder, manage individual page settings and create new pages on your site. In this section we will go over the basics of what you can do with rows within the website editor.
Adding New Site Pages
Follow the steps below to add new pages to your site:
- In the left panel, click the PAGES tab.
- Click the + New Page button.
- Select a page type. Page templates are pre-populated with relevant widgets. The Page URL page allows you to link the new page to an external page from another site by inserting that external site pages URL.
- Type a title for your new page. This is the title that will show up within the page navigation. In order to stay consistent with the other pages already existing on the site, it is important to note that you will want to make sure your title is fully capitalized.
- Click + Add Page button and start creating your new page.
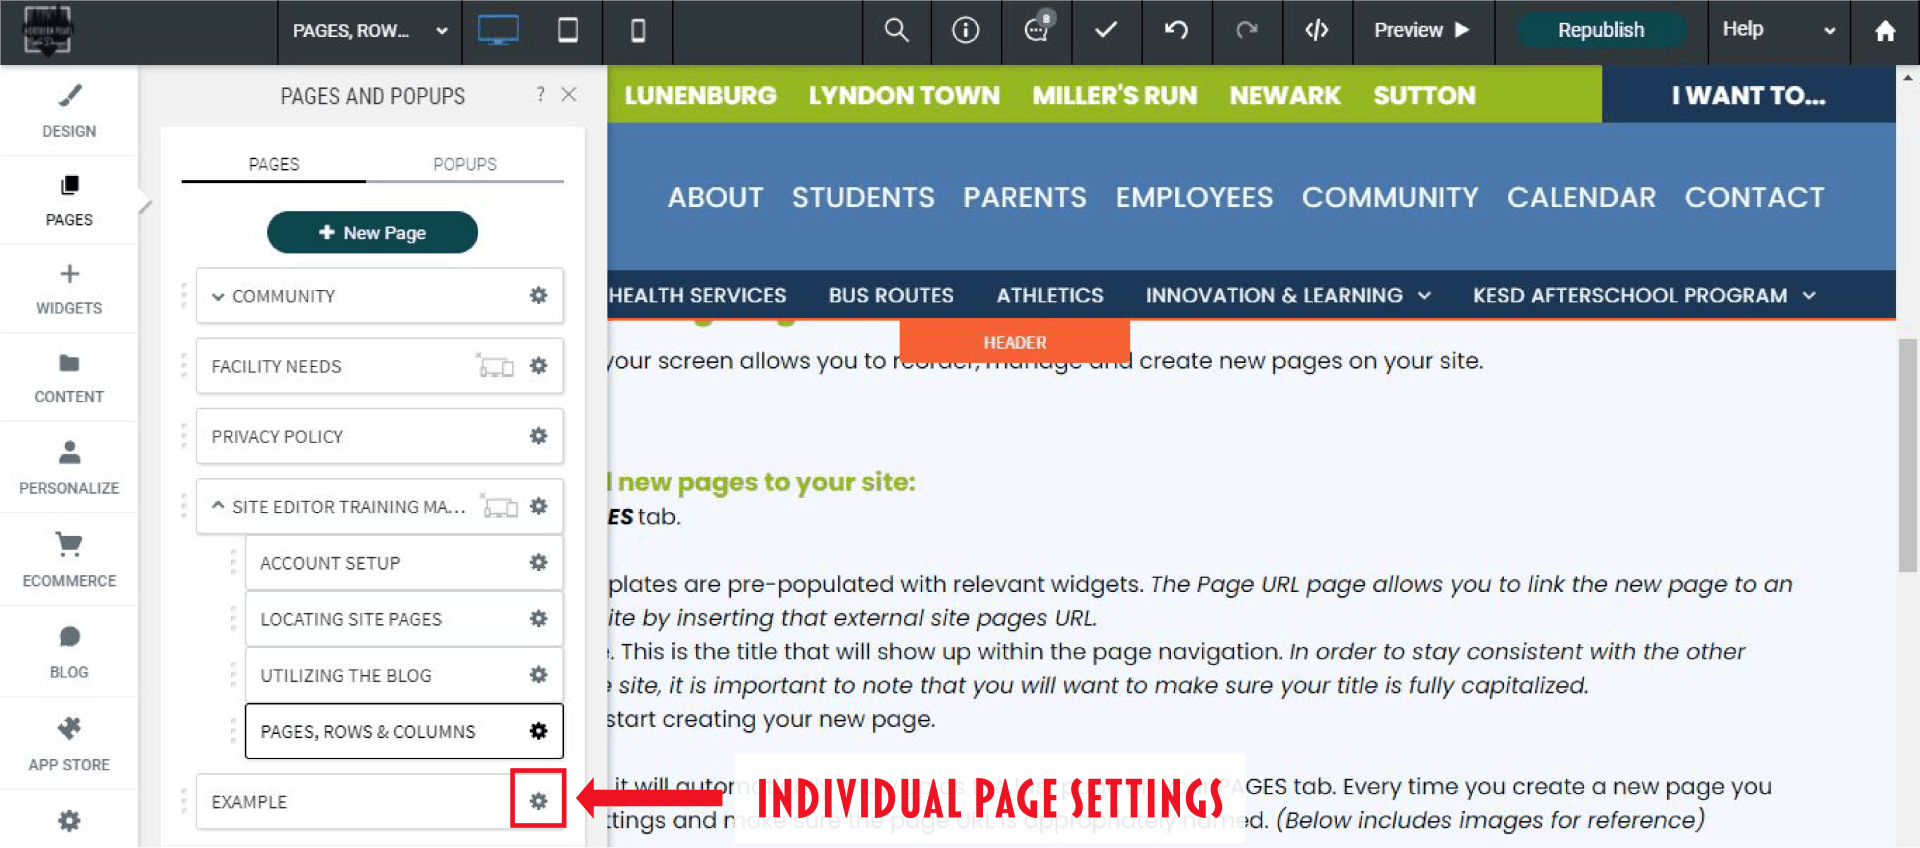
When you create a new site page it will automatically show up as the last page on your PAGES tab. Further down the page we will discuss how to reorder site pages. Every time you create a new page you will want to go into that pages settings and make sure the page URL is appropriately named. (Images below for reference)
Step 1: Go to Individual Page Settings
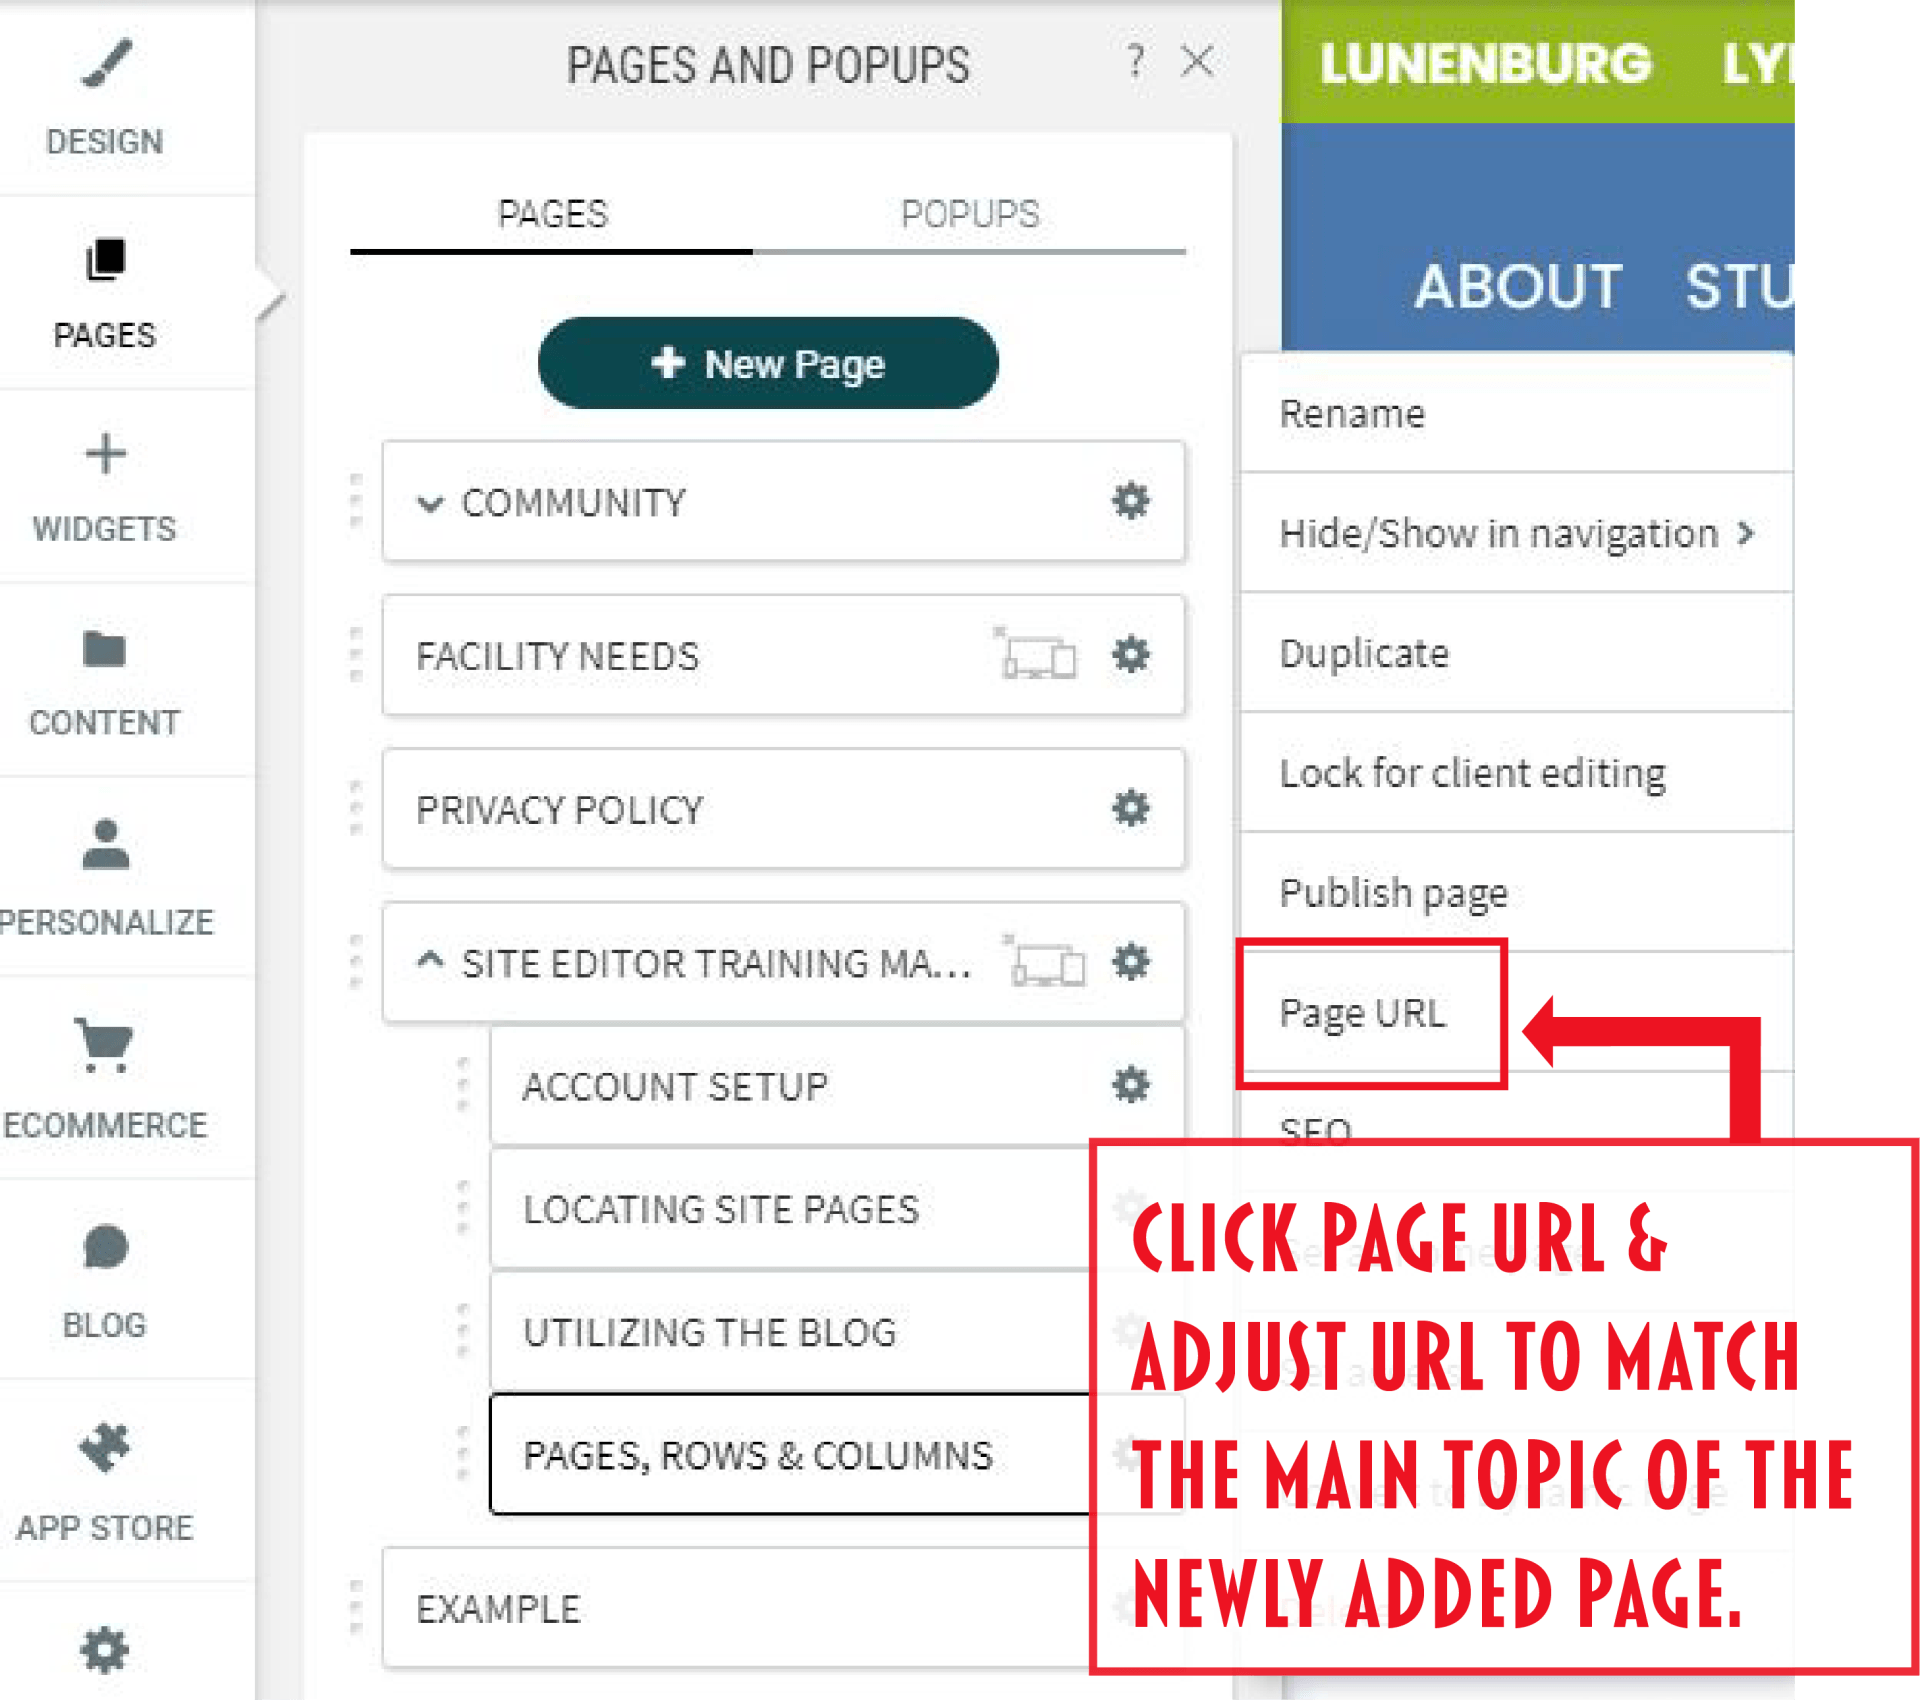
Step 2: Click PAGE URL
As a secondary page creation option, you also have the ability to simply duplicate an already existing page on the site. This can be an incredibly useful tool, as all existing site pages have been designed to the school districts branding. Further down the page we will go over how to create a page duplicate.
How to Reorder Pages
Follow the steps below to reorder & organize pages on your site:
- In the left panel, click the PAGES tab.
- Click and drag a page to move it where you want it to appear in order.
- Drag a page slightly to the right to nests the page as a sub-page of the page above.
Individual Page Settings: Going Over the Basics
To access the individual page settings, click the settings icon that is located next to each page within the PAGES tab. Below we we will go over the different settings you have the ability to change while in the individual page settings.
Page Setting Options:
For your convenience the only settings that you might need to adjust are included within this section.
Please do not adjust any individual page settings unless they are listed below, as it could potentially cause issues.
Rename
Rename the page in the editor. This does not change the page URL.
Hide in navigation
With this you can easily make the page hidden on the navigation menu. This is very useful if you have started to work on a new site page, but it is still not ready to be visible to the public. Please note, the page can still be viewed by site viewers, but can only be accessed by inserting the direct page URL.
Duplicate
Creates an exact copy of the page. This is great way to created a new site page without needing to fully customize the page to make the page consistent with the other site pages that have already been designed with KESD's branding in mind.
Page URL
Click this section to view and adjust a pages URL. This will most commonly be used when you have created a duplication of an already existing site page.
Set password
Set a password for the page so that only site users with the password are able to view the page. This is great for including pages on the site that you only want staff members to access.
Use the Row editor to change the row's background color and image, add a border, or adjust the inner and outer spacing of the row. Use rows to organize and arrange the content in your site.
Adding New Rows to a Page
Follow the steps below to add new rows to your site pages:
- Hover over the top left of a row until a row button appears, and click Row.
- Click +Add and select one of the following:
- Row above: Adds a new row above the current row.
- Row below: Adds a new row below the current row.
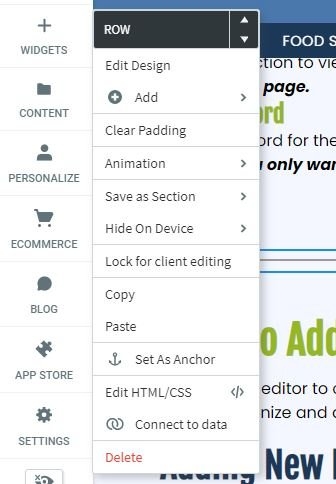
Once your new row has been created, you can now adjust the following:
- To clear the inner spacing inside the row, click Clear Padding.
- To add an entrance animation to the row (for example, fade from right, bounce in, zoom in), click Entrance Animation, and select an option.
- To save the row as a section, click Save as Section and select to save only the current row, multiple rows, or the full page.
- To hide the current row on a specific device (desktop, tablet, mobile), click Hide On Device, and select the device.
- To copy the row, click Copy.
- To page the row, click Paste.
- To anchor the row to the page or delete an existing anchor, click Set As Anchor or Edit Anchor.
- To delete the row, click Delete.
Editing the Rows Design
To edit the background style or spacing of the row:
- Hover over the top left of a row until a row button appears, click Row, and then click Edit Design.
- On the Settings tab, you have the following options:
- Full bleed row. To change the row into a full bleed row, which allows content to span the entire width of the screen, click the Full bleed row toggle. If you choose not to have full bleed rows, the content width is limited to 960px.
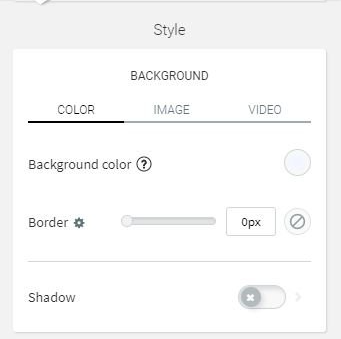
On the Style tab, select a use a Background Color, Image, or Video. You have the following options:
Color Options
- Select a Background color. Gradient color overrides image, and vice versa.
- Select a Backdrop filter. Backdrop filters allow you to apply graphical effects such as blurring or color shirting to the area behind an element. To see the effect, you must make the element or its background partially transparent since this applies to everything behind the element. Select a Filter Type from the drop down menu, and move the slider to select a Filter value.
- Click Border to select a border type, and move the slider to set the border width.
- To add a shadow, click the Shadow toggle, and select a color, type, and position for the shadow.
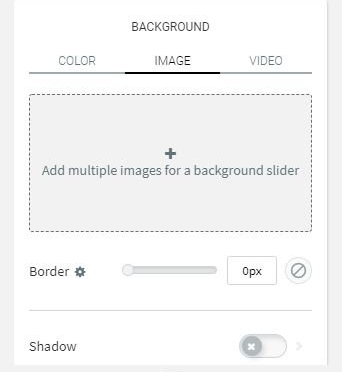
Image Options
- To add an image to the background, click + to open the image picker. To create a background image slider, select multiple images from the image picker, and see Background Image Slider.
- To enable parallax scrolling on the background image, click the Parallax scrolling toggle. When this is enabled, background content scrolls more slowly than foreground content.
- Select to have the image display as a Cover, Full image, Tile, or No repeat.
- Configure the Position, Background overlay, Border, and Shadow for the image.
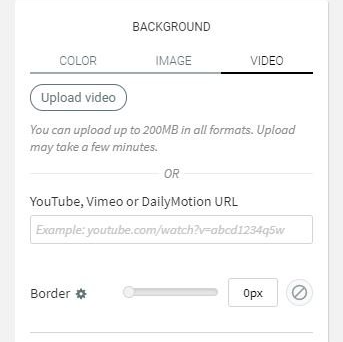
Video Background
- Paste the URL of the YouTube, Vimeo or Dailymotion video in the field provided.
Use the Row editor to add columns to any row within a page. There can be as many as 4 columns within a single row.
Adding Columns to a Row
Follow the steps below to add columns to a row:
- Hover over the top left of a row until a row button appears, and click Row.
- Click +Add and select Column.
Once your new column has been added to the row, you can now adjust the following:
- To adjust the column size, place your mouse between the 2 columns until you see a double sided arrow then slide the column to the place in which you would like it to go.
- To clear the inner spacing inside the column, right click and select Clear Padding.
- To add an entrance animation to the row (for example, fade from right, bounce in, zoom in), click Entrance Animation, and select an option.
- To hide the current row on a specific device (desktop, tablet, mobile), click Hide On Device, and select the device.
- To copy the column, click Copy.
- To paste the column, click Paste.
- To anchor the row to the page or delete an existing anchor, click Set As Anchor or Edit Anchor.
- To delete the row, click Delete.

Website Designed by Northern Peaks Web Design