

Utilizing the Blogging Tool
The Blog feature within the website editor lets you create, maintain, and publish news, updates, and articles on your site. This page goes over the steps needed to get into the blog editor, what to do while you are there, and different options for how you can implement a new post or edit an already existing post. If you would like to have your website administrator create the post for you, please click the button below, or visit the bottom of this page and fill out the Blog Post Request Form.
Getting to the Blogging tool within the site editor
On the left side of the screen you will see various tabs that read DESIGN, PAGES, WIDGETS, etc. To get to the blogging tool within the site editor click on the BLOG tab on the left side of the screen.
You will then be brought to a page that reads Manage Blogs.
(image included below for reference).

Duplicating An Existing Post
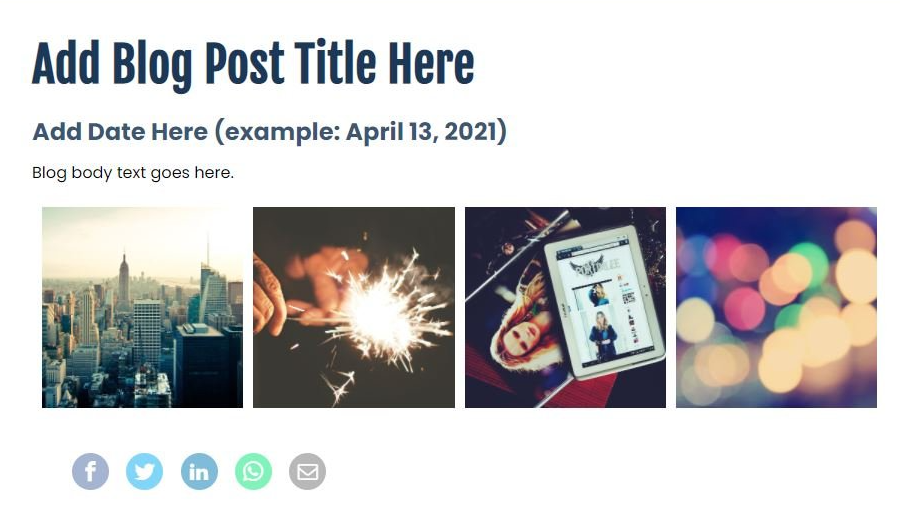
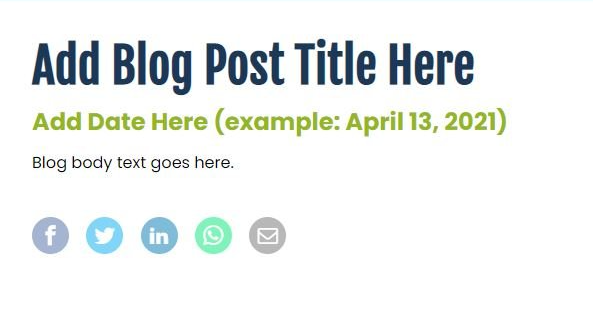
The most simple way to add a new post without needing to make various adjustments to the layout, text, and overall design is to duplicate an existing post that has already been altered to the organizations brand. Your Web Administrator, Nicole has created 3 different blog templates for this purpose. Below include the different template options and their specific offerings.

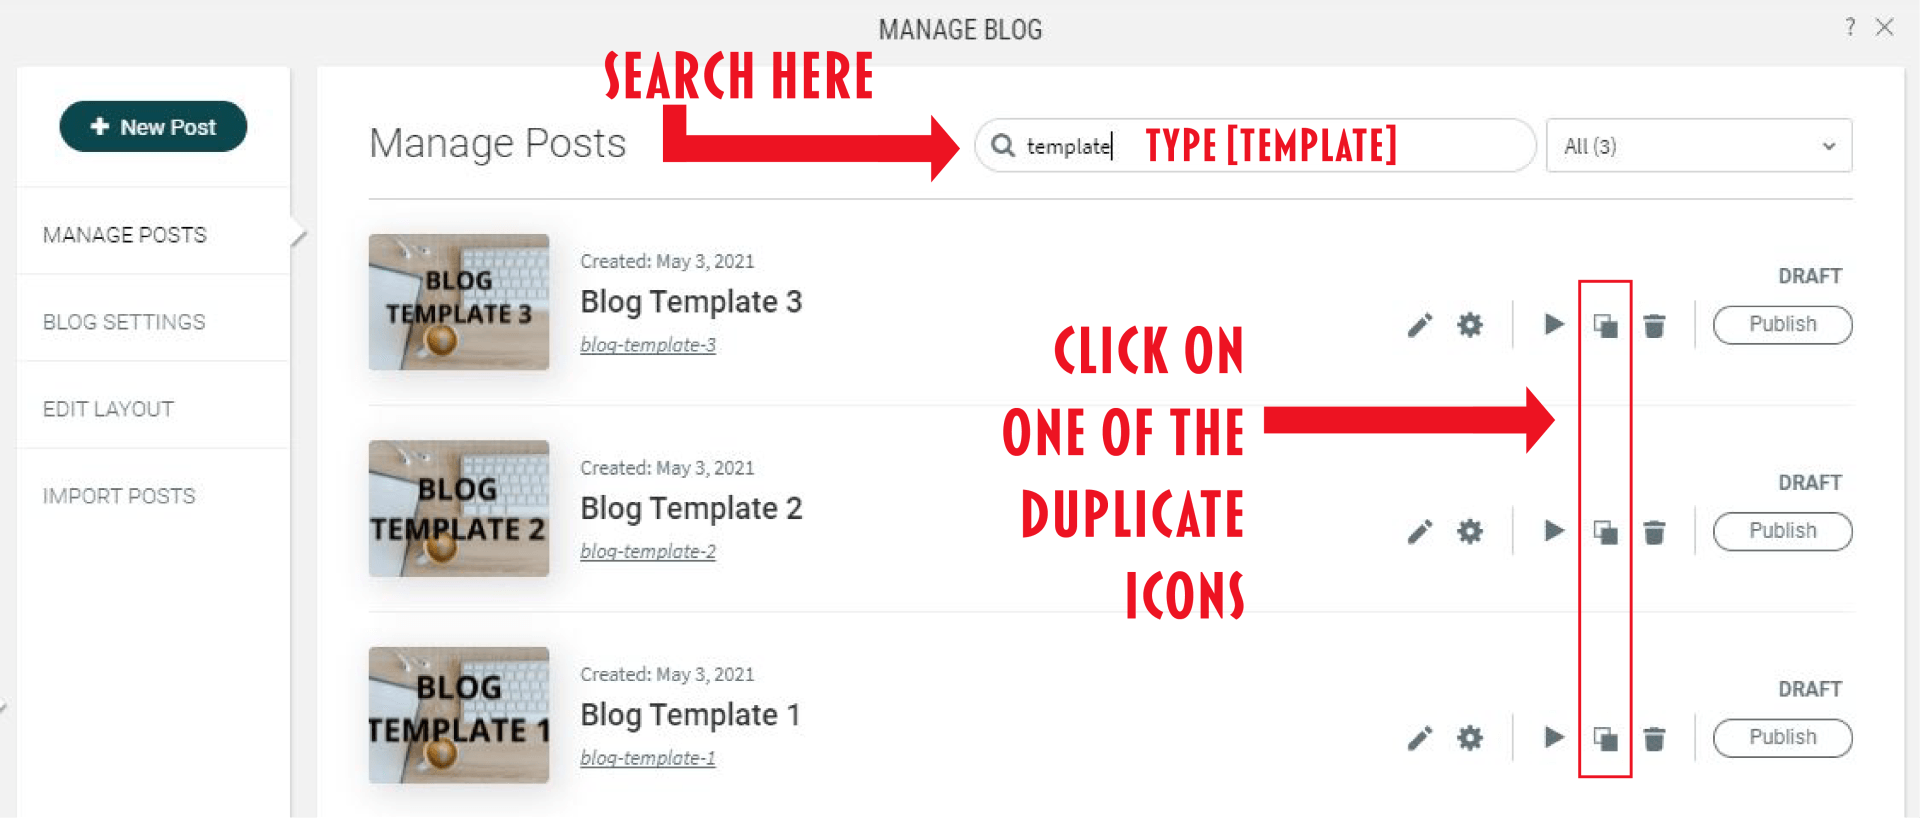
To Find one of the templates listed on the previous page, type Template in the search bar on the Manage Posts page. Select one of the 3 templates by hitting the duplicate icon to the right of the page
(image below for reference).
Adjusting Your Duplicated Blog Settings
Once you have hit the Duplicate button, you will see a popup appear. From here you will adjust the Post Title, Post Author, and select a new main image that reflects your new blog post. Once the new items have been filled in, hit the Start button.
Implementing Contents & Widgets to Your New Post
You will now be brought to the duplicated blog. This is where you can update all of the existing content, buttons & links, images, videos, or any additional items that are included depending on what template you have chosen. To update these items simply hover over the item and click.
If there are additional items that you would like to include within the post, but is not currently included on the template, click on the WIDGETS tab to the left side of your screen and add in any desired widgets by dragging it to the section within the post that you would like it to be placed.
Once you have updated and added all of the items to the duplicated blog template, click the gear icon at the top of the page to adjust the settings.
(Screenshot below for reference).

Adjusting Your Blog Settings
Once you have completed all of the items listed in the previous pages, you can now adjust your blog settings. Below are the various items that you will adjust.
Post Title:
Type a short title for the blog post.
Post Author:
Select an author from the list. Only users who have been granted blog access to the site are eligible blog authors.
Post Main Image & Thumbnail Image:
Click
+Image to select or upload a main image for the post. Add ALT text to the thumbnail image by giving a quick description of the image you are using as your thumbnail. This helps improve SEO by providing search engines with key text pertaining to the image you are including within the post.
Post Description:
Add in a short summary of your blog post. This could also be the first couple sentences that are included within the blogs main body text.
Post Tags:
This is the section that you will indicate where you want the blog to show up. From this section you will want to click onto the section that reads
Begin typing to find and create tags. There are several tags already created, so you can just scroll down and find the appropriate tags. You can select as many tags as desired. To help sort posts for archives, also type in the Month and year as followed,
August 2021.
Post Status:
Scroll back to the top of the settings page and hit the Publish button.
Before hitting Publish, please make sure that you set your publish date to the appropriate date. There is no issue setting the publish date to a previous day.
If you would prefer to send the blog content items to your web administrator, please fill out the form below with all of the required blog items. If there are additional images or attachments please email those directly to
nlarocque.web@gmail.com with the post title included.